004 - Starting NOS and CYBIS
CYBIS (R2) Operation and Usage (Virtual Book)
This Virtual Book contains chapters organized in a suggested order but you are free to select whatever topics address your needs best.
Overview
In this article, we perform the initial startup and assume that the following have been completed:
- NOS and CYBIS disk images have been extracted and positioned
- The deadstart tape image has been extracted and positioned
- The
cyber.inifile has been extracted and positioned - The DtCyber emulator binary has been been created and tested
- A working version of PTERM and/or PlatoAccess has been installed and tested
The NOS 2.8.7 operating system will be started, and then as a second step the CYBIS subsystems will be launched.
Procedure
The CYBER Console Keyboard
Before proceeding, it's important to understand aspects of what is being simulated by DtCyber. The keyboard is a crucial element in the operation of NOS. It is sufficiently different from modern keyboards that it requires some explanation.

In the above image, the keyboard layout may appear to be foreign but the mapping of keys is straightforward.
Items of Note
- There is no
SHIFTkey in this keyboard layout. - There are very few “special” characters represented.
- There are two keys on either side of the Equal Sign (
=) each namedLeft BlankandRight Blankrespectively. - The “Carriage Return” (
CR) key is where theLEFT SHIFTkey is on modern keyboards. - The forward slash (
/) key and the Parentheses are where theRIGHT SHIFTkey appears on modern keyboards.

Start the DtCyber Emulator
Launch dtcyber application.
Note
Under Windows the firewall may prompt you to allow the emulator to communicate on the network. Tick the appropriate network types (at least private networks) and then click on Allow access.
The emulator creates two windows:
- the DtCyber operator window
- the CDC (NOS) console window
The DtCyber operator window is used to manipulate the virtual devices emulated by the environment. This includes many activities including:
- mounting and un-mounting tapes
- displaying tape status
- removing printed paper
- loading and removing punch cards
- shut down the emulation
A complete list of functionality provided by the DtCyber Console Commands should be completely reviewed prior to proceeding.
The emulated CDC console keyboard has equivalent functionality to the original console, except for the following differences:
Left blankkey is mapped to theleft square bracekey [ and erases any command line which may have been entered.Right blankkey is mapped toright square bracekey ] and its use depends on context. Often it is used to cycle through a set of console screens.
The screen shots below show examples of both displays:


The right hand side will update as the various NOS components are loaded until the following shows:
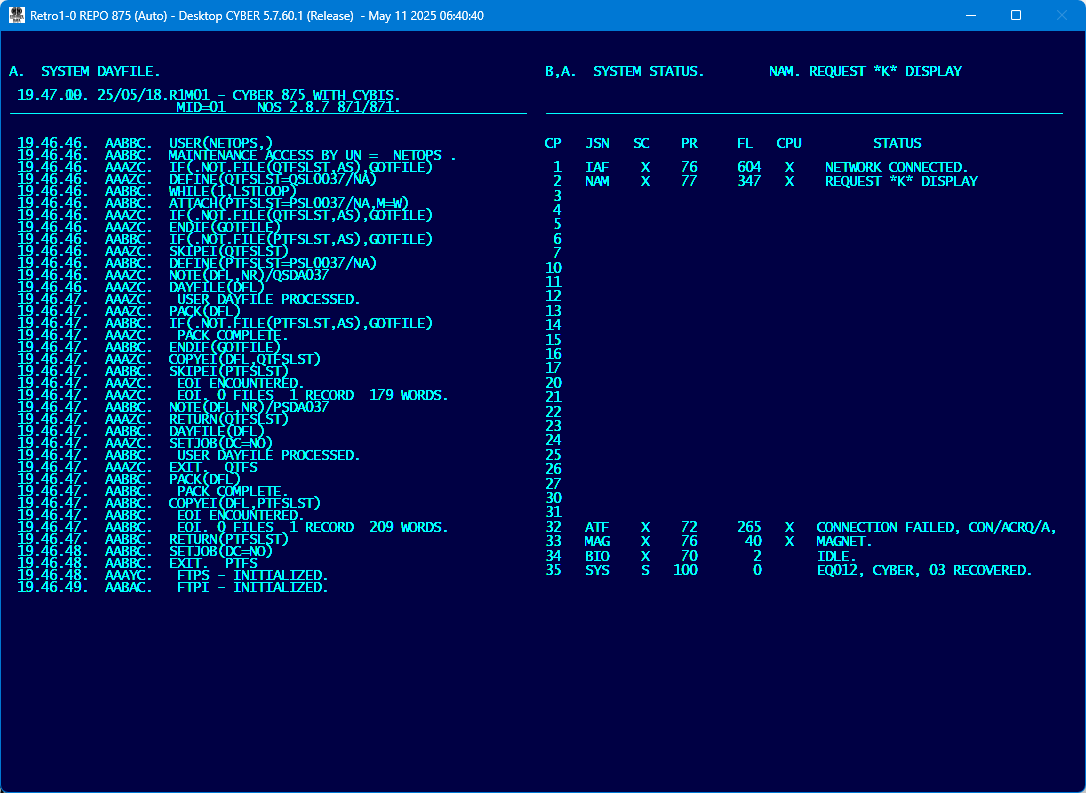
Note that the current date and time have been automatically entered by DtCyber during initialization. These commands are configured in the cyber.ini file.
Now wait until NAM networking is finished initializing. The line on the upper-right of the screen, Control Point 1, will display IAF X. NETWORK CONNECTED..
Start CYBIS
Now type CYBIS. followed by Enter:
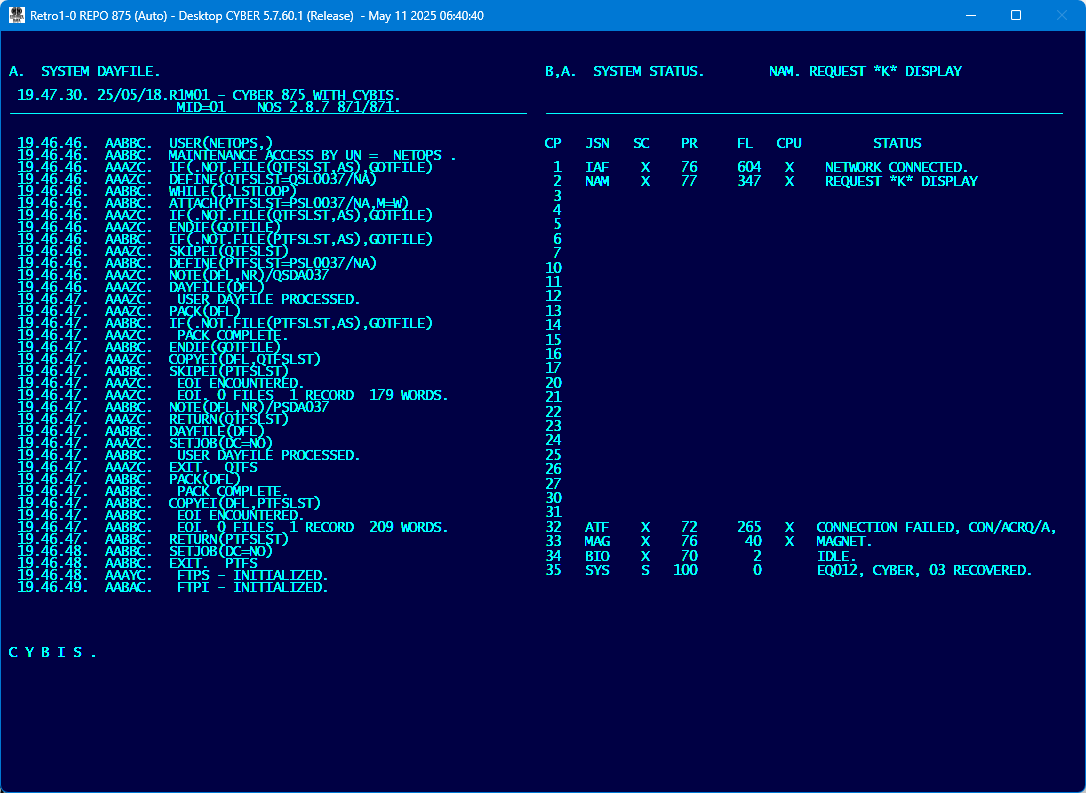
This will initiate the loading of the CYBIS subsystem controls. Once everything has initialized correctly, the following will be displayed:

This process takes about 30 seconds.
Wait until the last message on the left hand side says LOCAL SYSTEM LESSONS INSTALLED.
On the right hand side the following CYBIS subsystems should be running:
- MAS1 Mass Storage Manager
- PLA1 PLATO Executor
- FOR1 Formatter
- PNI1 PLATO/NAM Interface
- COA1 TUTOR Language Condenser
If not all subsystems have started, then shutdown CYBIS as described in the article 006 - Shutting-Down CYBIS (PLATO) and NOS and if necessary drop any remaining CYBIS subsystems and possible dump jobs using DROP,jsn.. After all CYBIS subsystems have shutdown try starting CYBIS again with CYBIS..